- First, perform a search to ensure that the client is not already in the system.
- If the client does not exist, you may add a client (and case file) from the search page by clicking “Intake Wiz”.
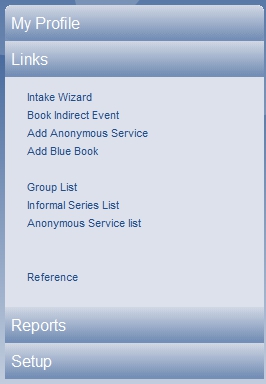
3. Alternatively, you may add a new client by clicking “Intake Wizard” from the home page under the “Links” tab.
4. Go through the Intake Wizard: enter the client’s first and last name, any known “other information”, any known referral information, and case open date. Click “next” between pages.
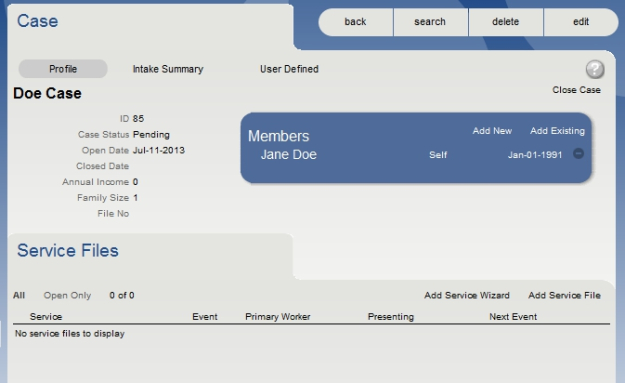
5. Click “finish” when all known information is completed. You will now see the Case profile page. Note: Information may be edited, added, or removed at a later date.
6. You will now add a Service File. About halfway down the Case file page, you will see the words “Service File”. Click “Add Service File”, which is in small black letters to the far right of the “Service File” heading.
7. Fill in the following Service File information: Service, Primary Worker, Start Date (you may enter an earlier date).
8. Click “save” when all the information is entered. The Service File page will load.
9. You have now completed adding a new client. From here you can add a biannual or return to the home page to add another client. If you are a primary worker of the client that you have just added, you will notice that the client shows up under your “Case Load” on the home page.


