Adding an Intake Service File uses the same steps as adding the PCAP Service File for a new client.
See this video demonstration:
(If the video does not appear the first time, try “refreshing” the page).
Once you add the Intake Service File, adding the ASI is like adding any other document.
Adding the Intake Service File
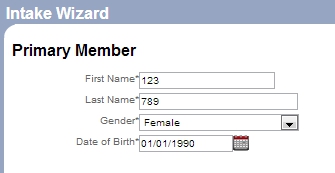
1a. If the client is new and/or is not yet in Penelope, add the client by using the “Intake Wizard”.

1b. If the client is already in Penelope, but does not have an Intake Service File, locate the client and go to their Case page.
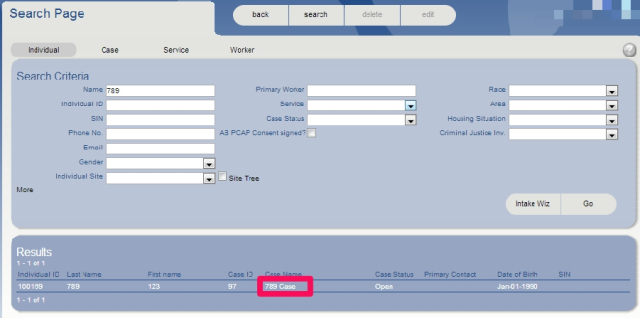
- Method 1: Use the “search” button at the top of the page to find the client. Click on the client’s Case Name.

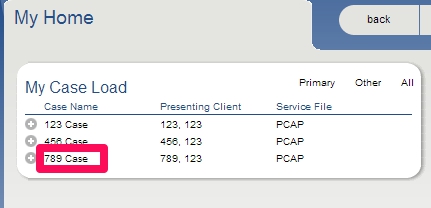
- Method 2: If you are the client’s Primary Worker, find the client’s name on your homepage under “My Case Load”. Click on the client’s Case Name.

2. Use the “Add Service File” link to set up the Intake Service File.

- For the Primary Worker, select your site’s PCAP Supervisor
- Change the Start date to the day that the Intake ASI – Part A interview was done.

Adding ASIs
3. From the Intake Service File, you may add the Intake ASIs using the drop-down menu under the “Documents” heading.
BOTH Part A and B of the Intake ASI will go into this service file (as they become available).

